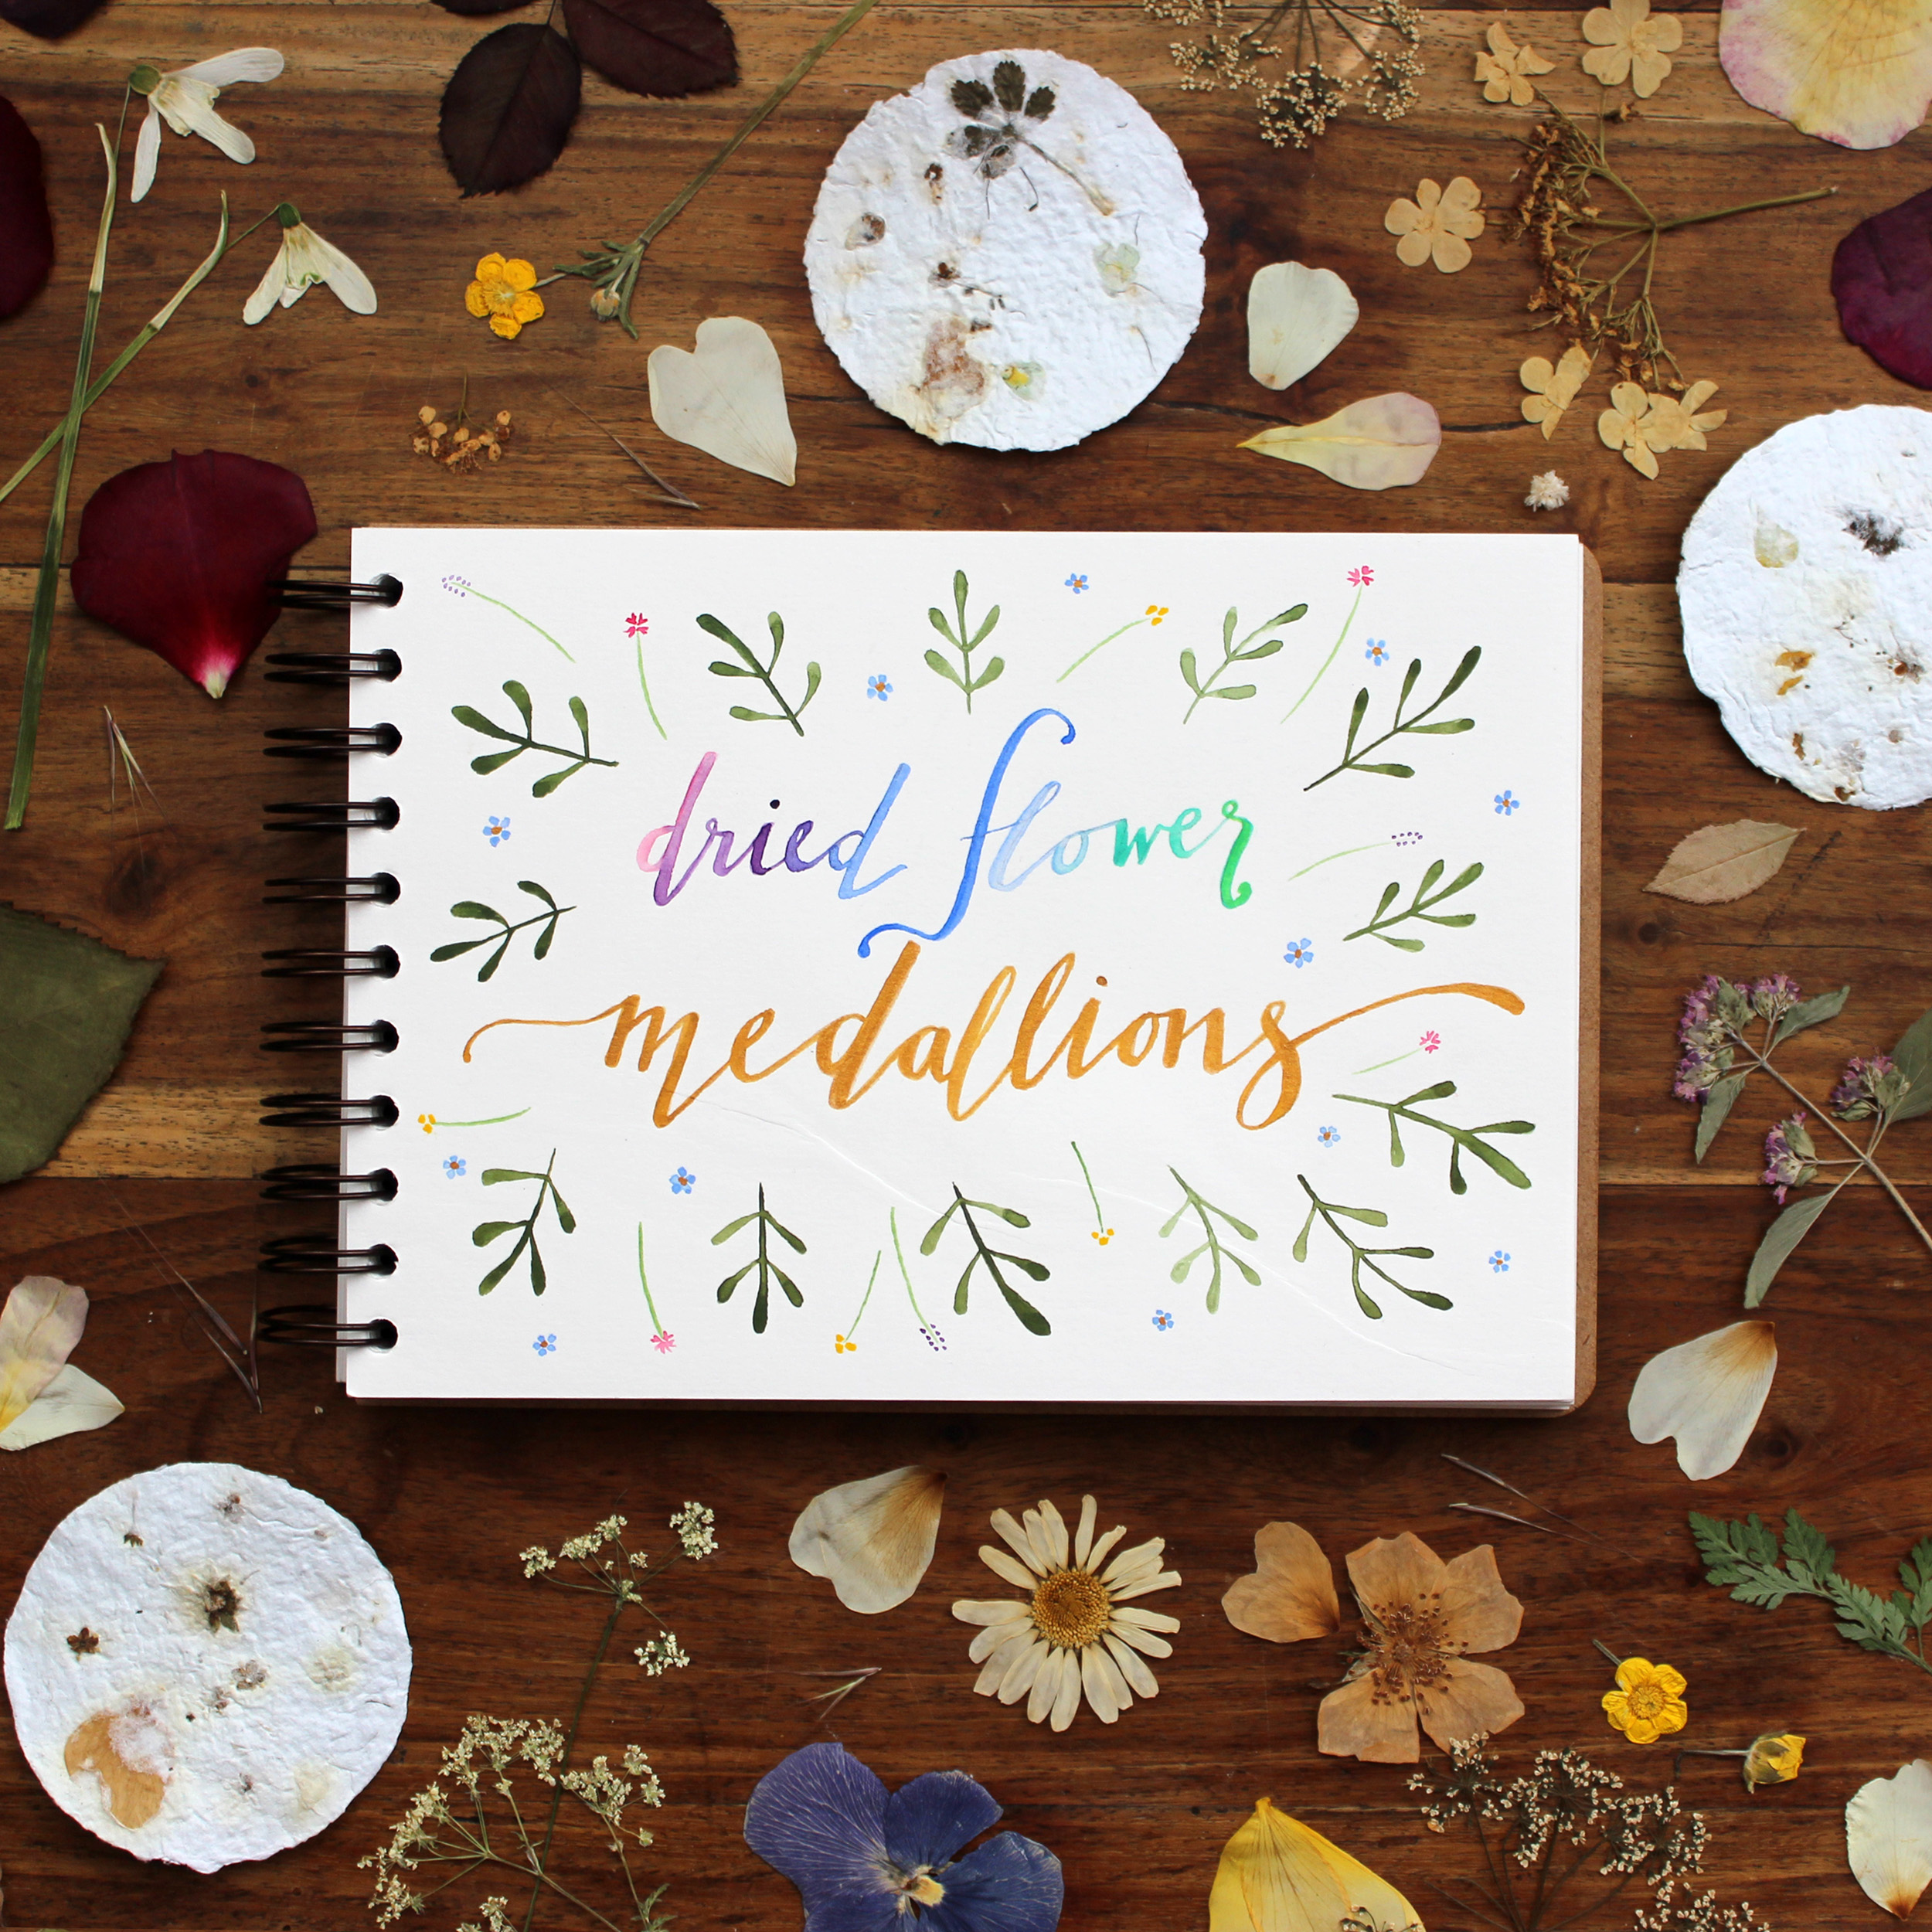
Another rainy day here, so I’m doing one of my favourite nature crafts: making medallions using recycled paper and dried flowers.
I really enjoy collecting and drying flowers and leaves. There are a couple rules for collecting: first, you should only collect from land that you own or where you have permission from the landowner to collect. For me, this means I collect mainly from my garden or occasionally the garden of a friend.
Second, always leave behind plenty of living plants for insects and other wildlife; a good rule of thumb is to never take more than 10% from any plant source.
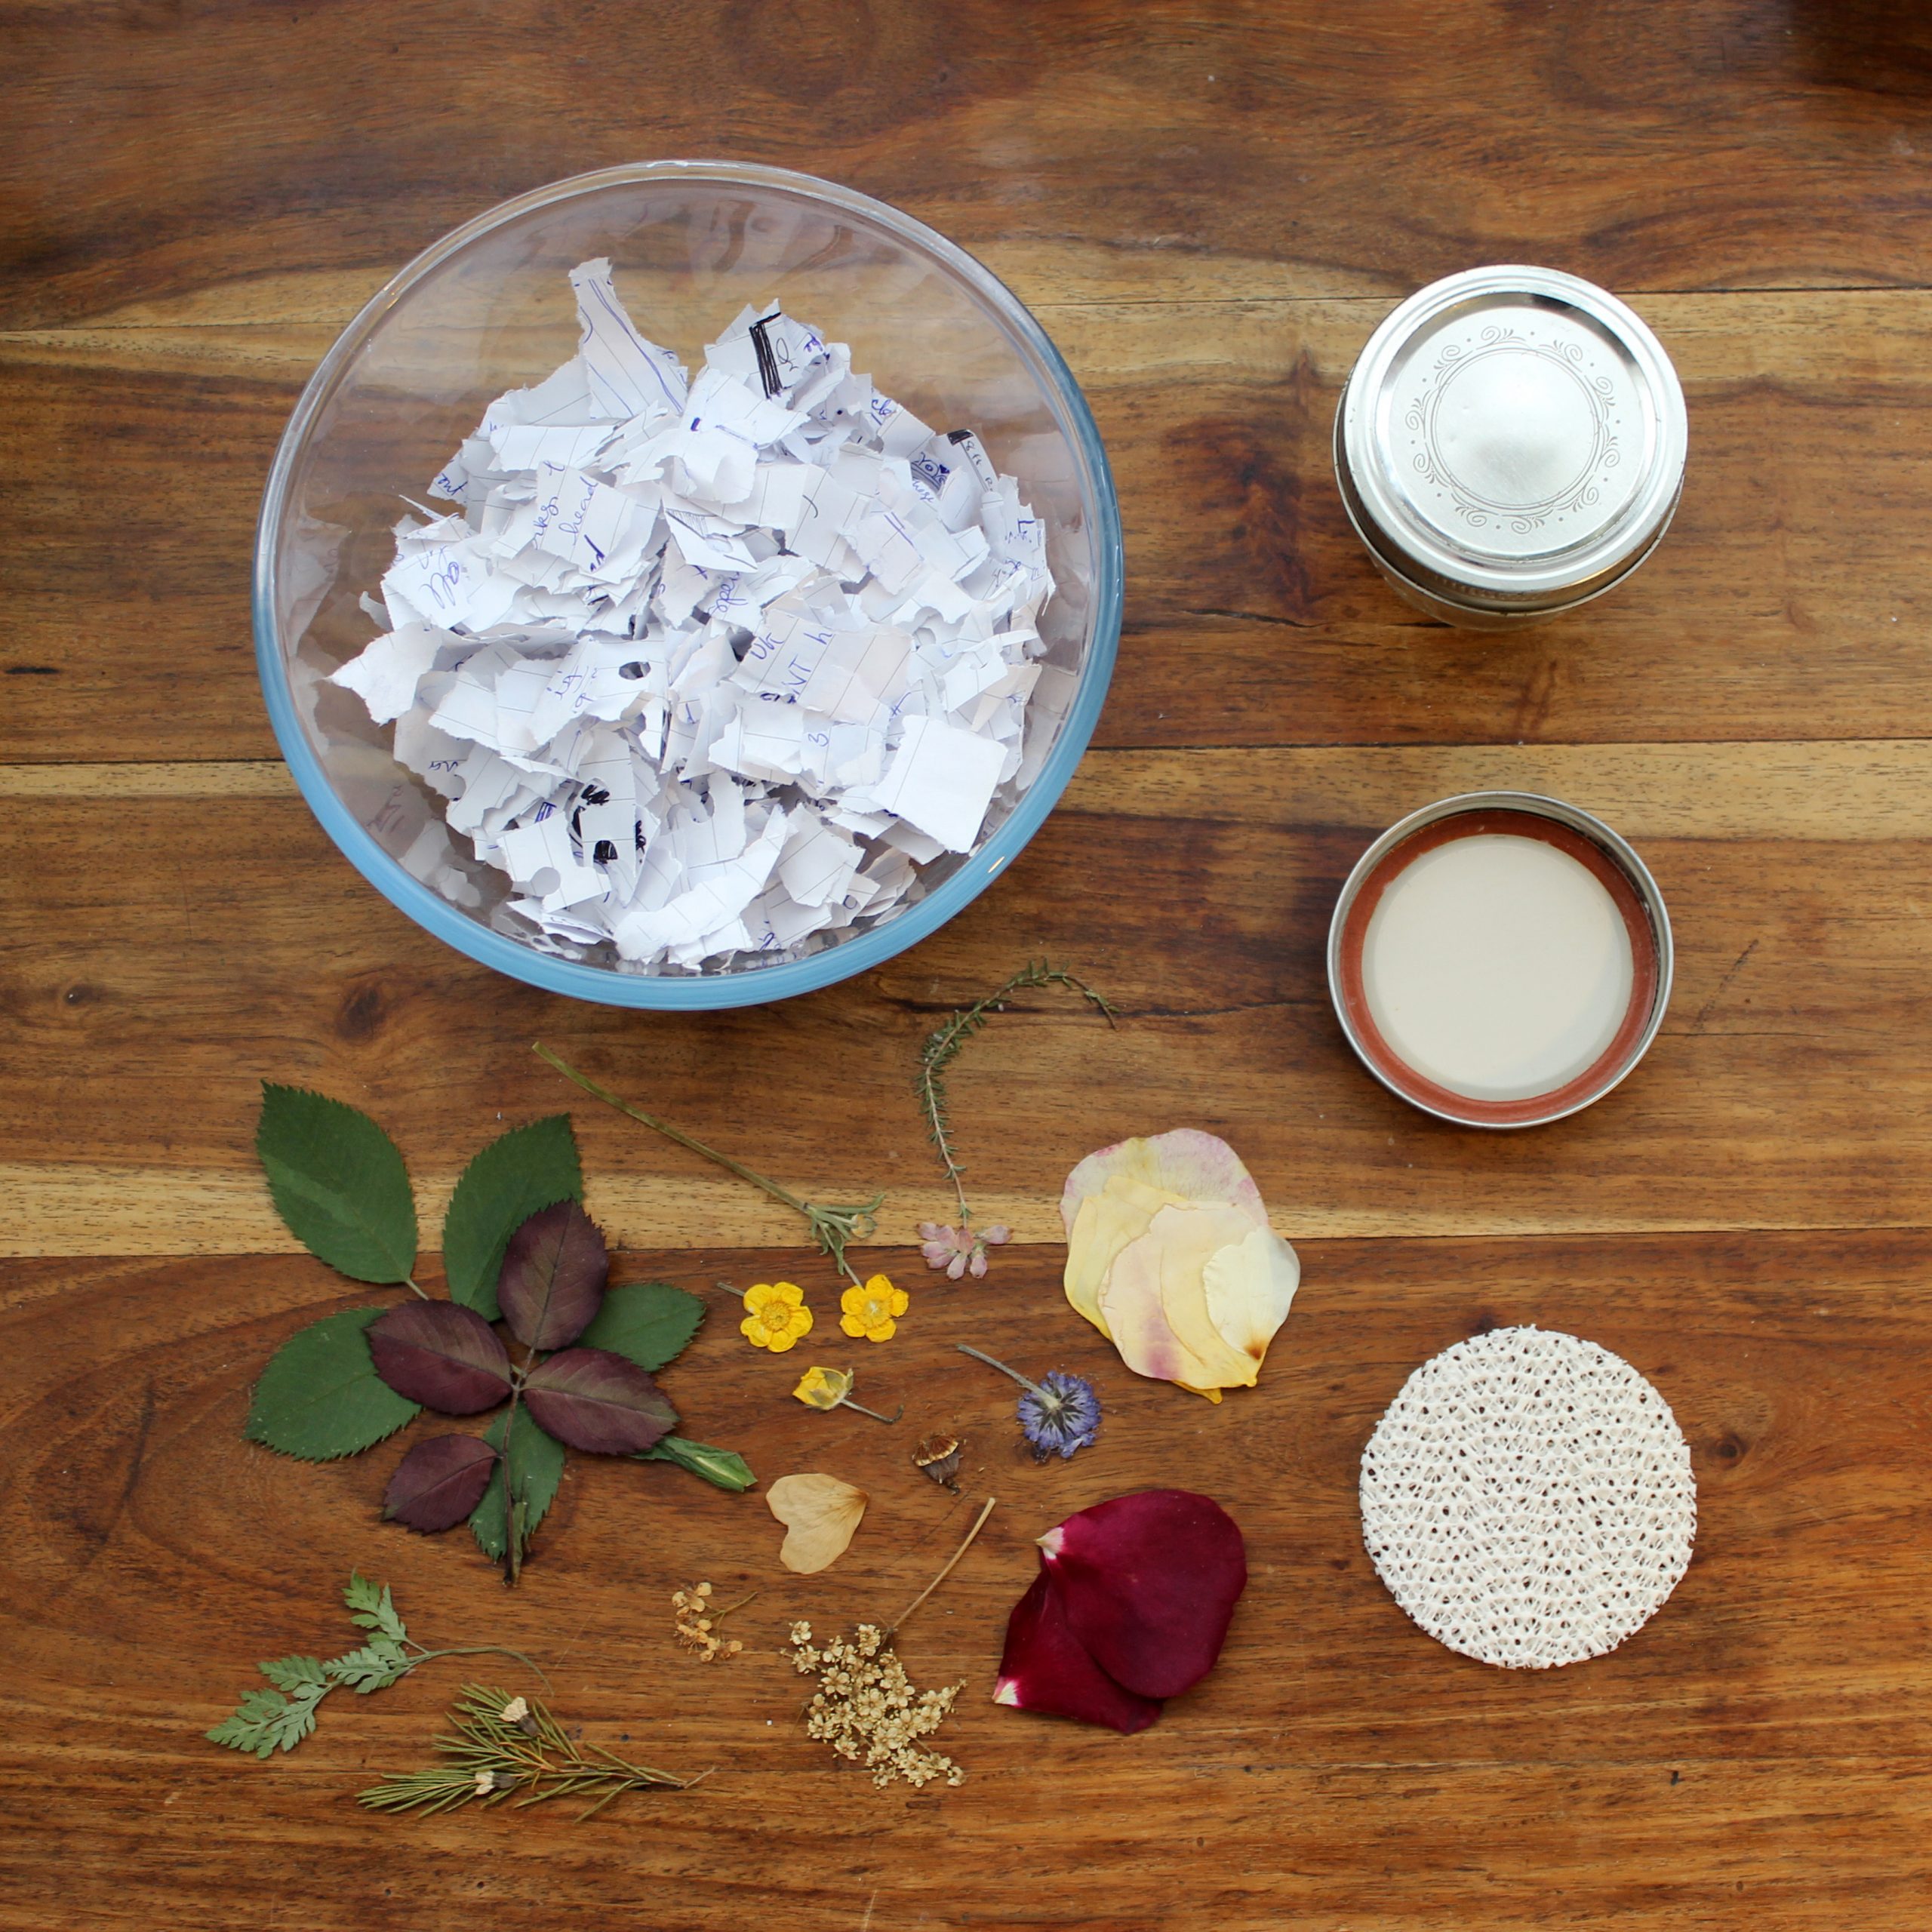
The only other material you need for this is paper and it can be practically anything. I usually use old notebook pages and since I wrote with blue ink, the examples in my photos today have a slight blue tinge to them. Have a root around in your recycling bin and see what you come up with. Often when making recycled paper, you don’t want to use paper that has a glossy finish (like a magazine) but for this activity, I find it doesn’t matter too much.
If you’ve made homemade paper before, this is a variation on that process. I use mason jar lids to get a nice circle shape, but you could use a mould and deckle instead and cut the circles out after. I like the natural feathered edges you get from using the circular mould, however.

Tear the paper into small pieces or shred it, then leave to soak in water for a few hours or overnight.
While that soaks, use the lid of the mason jar as a guide to cut a circle out of your mesh or fine cloth. Place the circle inside the ring from the mason jar lid and set aside. If you have multiple lids, you can do this with all of them, but you can also work one at a time – it’s up to you.
Blend your paper into a pulp in a blender. You’ll want to use about twice as much water as you have paper: if your paper fills a mug, then use two mugs of water. If you’re not sure, start by erring on the side of too little; you can always add more water if it’s too think, but if it’s too thin, you’ll have to either prepare more paper or wait patiently for some water to evaporate! You don’t need to over-blend, if there there a few chunks remaining it will be fine. If you don’t have a blender, you can pulp your paper by hand: leave it to soak at least 24 hours and mash with a mortar and pestle. It can be quite a lot of work to do by hand!
Traditionally when making paper, you’d pour this pulp into the shallow tray or dish and then lower in your frame. You can do this method if you like. However, I find it easier since we’re making a few targeted shapes to instead pour in clean water less than a centimetre deep. Start shallow: you can add more later if you like. Lower the ring with the circle of mesh inside into the water (as I said above, you can go one at a time, or do several here, it’s up to you).
Spoon a couple of scoops of pulp into the ring, enough to cover the bottom. The more pulp you use, the thicker your medallion will be. Shake your ring gently from side to side to help the pulp spread evenly. If you find your pulp is too thick to spread nicely, stir in a bit more water.
Once you’re happy with the spread, it’s time to add your dried flowers! This is the fun part. Arrange your dried flowers, petals, leaves or seeds on the top of the wet pulp. Press lightly to make sure they are stuck in. You can also use a spoon to pour some thinned out pulp lightly over the top to give a partially submerged effect. Experiment and see what you like!
When you have it just as you like it, remove the ring from the shallow dish. Try to raise it straight up out of the shallow dish without titling it. Set on a thick towel and allow most of the water to drip out then flip it over onto a dry towel and gently press your medallion out. You can use the metal lid to help with this, if needed, or if it’s sunny, you can even leave your medallion in the ring to dry in the sun.
If you’re making them one at a time, once you have it out of the ring you can start to make your next one.
Assuming it’s not sunny (like today), layer more dry towels on top of your wet medallions and then set something heavy on top. This will help keep them flat and press out the water while they dry. You’ll have to leave them like this for a few hours or overnight.
Once dry, gently peel the mesh/cloth off the back and voila! Your medallions are ready!
So what to do with your medallions? I originally created this as a natural rosette as an award for a competition. The medallion formed the centre and I used dried grasses, petals and leaves all around the edge like the ribbons on a rosette. You can also thread them together to make a mobile or bunting, or use them as decorative elements on cards and gifts. There are so many possibilities! What will you come up with?
If you try this project, I’d love to see your results. Drop me an email using the Case Studies form, or tag me on Twitter or Instagram @BucksBuzzing.